DIY greenhouse at Wild Oak Farms
Share
First the disclaimer. We had never built a greenhouse. I spent a lot of time looking at pictures and watching you tube videos of people who know what they are doing. Not that we didn't know what we were doing, BUT there are so many suggestions when you search building a greenhouse. Whatever you land on, it will be amazing because it will house food that will feed your body.
There are no rules for size, other than the old rule that no matter how big you think you need you will want it bigger when done. Our size was dictated mainly by what metal panels and wood we had on hand. Our greenhouse is 12x10.
Rough supply list:
4 treated 4x4
3-4 bags of concrete
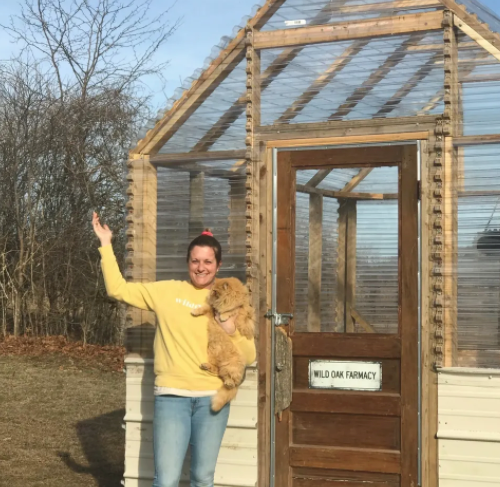
A door of your choice!
Two windows- we got ours at Lowes- and like I say below, you could go with 3 windows and it would be awesome!
Metal Sheeting- this was leftover from a home build, but I would say if you bought at a hardware store you would need *for this size* 4 12 foot sheets. Again, just measure for the size you want!
*At least 30 10 foot 2x4s, and also for this size you will need a handful of 12 foot 2x4s. ** It is so easy to plan this before going to the store based on the size you want to build.
10 plastic greenhouse sheets and their connectors.
Screws
Insulation sheets
*We added plywood to the top of the insulation on the inside walls, not only for looks but another weather barrier layer.
Pick the size you want. We choose our size based on the metal panels that were left over from our barn that was built earlier in the year. This is the only thing we didn't "buy", but I will factor that in for the overall cost for you.
Mind you, I had the bright idea to start this in February so we battled with snow and cold temperatures, but by golly I was going to have a standing greenhouse for seed starting! In total it took us about 4-5 full working days, but remember the snow and it was just my father and I building this.
We set four corners in concrete. Used treated 4x4s for the four corner post. Then attached 2x6s all around the square structure. We used 2x6s on the outside and then cut to length 2x6s on the inside so in essence we had 4x6s as a base.
We then built the four walls. Again the size was already set. We built the walls laying down then attached them to the 4x6s. Obviously we left a space in the front for the door. I found the door second hand, and I love it! Make sure that you have a header above the door to support its weight. We also made the door opening wide enough to use three 2x4s on each side for added support.
The bottom of the greenhouse is about 4 foot tall. We then built the top of the walls to the height desired. I think ours is about 8-9 tall total. We chose to install two windows on opposite sides for cross ventilation. We bought the windows but they could easily be made to just pop-out or lever out for airflow. If I could go back- I would add another window in the back, but on hot days I just open the main door and utilize fans and it is perfect!
Installed the front door. We also attached corner braces at the height of the bottom level of the walls. Probably not necessary but provided a ton of strength. If you are anywhere with funky weather patterns, I suggest this. So, in short- corner braces are awesome!
For the roof we just made the trusses. It can be any size. We tried to make it so it would be the size of two of the clear panels to avoid unnecessary cutting. Once the trusses were attached we attached the clear panels to make up the roof. We bought the clear panels at Home Depot- after looking around this was not only the only place near us, but the most economical too. You also have to have the horizontal plastic closure connectors- which are pictured on Instagram - we used "SunTurf" brand.
We chose to insulate the bottom of the walls with a thin sheet of insulation and plywood. Again, maybe an extra step, but you have made it this far. Go big or go home. For the floor we chose pea gravel. Excellent for drainage and not hard on my feet. We added stepping stones down the isle too.
Not sure if we would done much different, other than bigger. It is very sturdy and was amazing space for us last year!
Total- the cost was about $800
On my Instagram page - Wildoakfarms- I have a highlight with photos of the build! This will help you tremendously!
Any questions? Find me on the gram!
Cheers