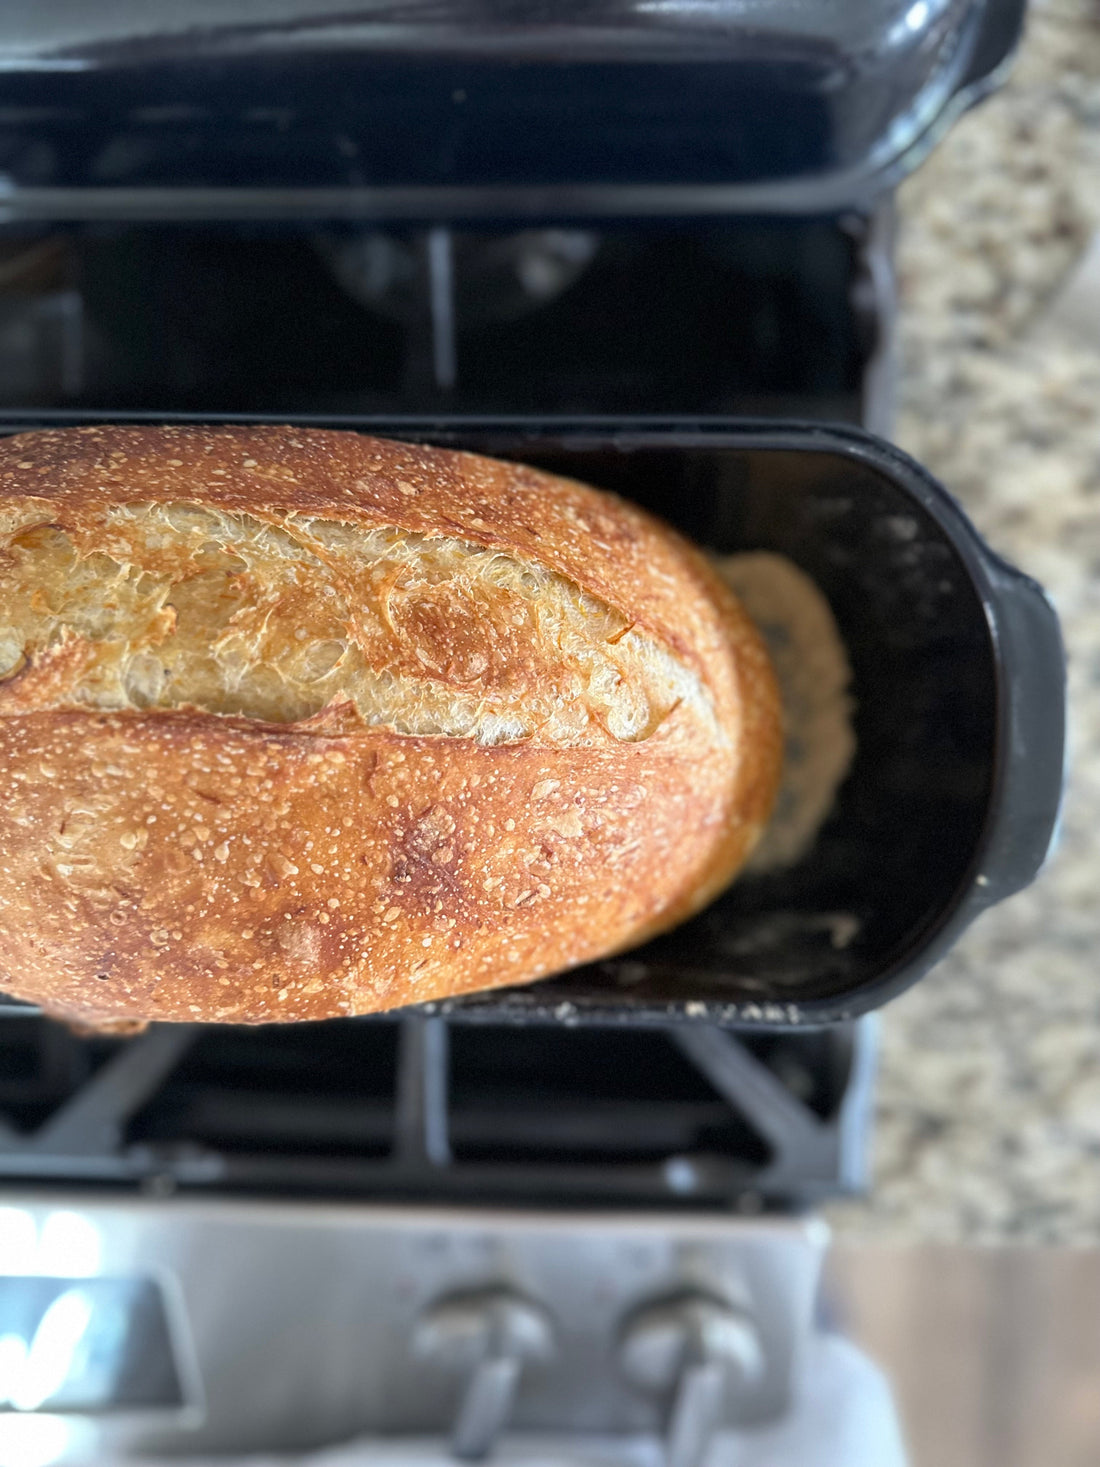
PumpkIn Sourdough Bread
Share
Pumpkin Sourdough Bread!
The PERFECT Hydration!
Fall is here and I don’t think I could be any more excited for cooler weather. Dig out your sourdough starter from the back of your fridge and make this! You are going to love it!
Helpful sourdough tips for the perfect loaf:
- This recipe calls for an active and well-fed sourdough starter. One that has been fed just a few hours before starting your dough ferment. If you need to activate your starter, might I suggest doing a bulk feed and starting this recipe the next day.
- This recipe will produce a higher hydration dough, close to 80%. Don’t let that scare you, the dough is still very workable and you end with the perfect crumb.
- When you are folding your dough, if you choose to use your countertop wet your hands slightly with water instead of using flour on the counter.
- I have found that if you keep a warmer home your dough might work best with a bulk ferment in the fridge. Just watch your dough throughout the day to see what will work best. For higher hydration loaves we *always refrigerate overnight and bake the next morning.
You will need:
- A large mixing bowl
- A banneton if you choose to overnight ferment in one
- A Dutch Oven or your favorite sourdough baking dish, one with a lid
Ingredients:
- 130g Sourdough Starter, active
- 200g Pumpkin puree, homemade or canned
- 500g Bread Flour
- 290g Water
- 25g Raw honey
- 10-12g of salt
- 10g of cinnamon OR pumpkin spice blend (can omit entirely)
Day One:
Mix all of the ingredients together, starting with the water and the sourdough starter. Then add in your flour, pumpkin puree, salt, and honey. This is also when you would add your spice if you choose to do so. It does add just the right amount of a fall flare. The dough will be visibly shaggy. Cover it with a damp towel, beeswax wrap, or cling wrap and let it sit for approximately a hour.
Come back to the dough and do your first stretch and fold. Do this 3-4 more times roughly 30 minutes apart.
By the last fold your dough should no longer look or feel shaggy and should have a nice bounce to the fold.
This is when you can choose to shape your dough in the banneton OR you can leave the dough in the mixing bowl if you don’t have a banneton. Both will work just the same.
Take your dough out of the mixing bowl and give it a good shaping. This wont be the final shape, but it will be the final time you handle the dough for the day. Place it back in the mixing bowl or in your banneton, cover the bowl tightly (this is when I would suggest using beeswax wraps or cling wrap) and put the dough in the fridge.
* If you are in a rush or just simply don’t want to make this a two-day process it can be done in one. I would leave the dough in the fridge for at least 5 hours if you can, overnight is better. The cold ferment produces a deeper, more blistered crust and a more rich sourdough flavor.
Day Two:
Take your dough out of the fridge at the start of your day. Let it come to room temperature as you preheat your oven.
Preheat to 425.
Take your dough out of the mixing bowl or banneton and do your final shape. You can use a little flour on the counter if you feel like you may need it and if not just wet your hands for the final shaping.
Once shaped transfer the dough to your baking dish and score your dough with a lame.
Bake Time:
25-30 minutes with the lid on
10=15 minutes with the lid off
Once done remove from your baking dish as soon as possible and let cool before cutting.
Enjoy! Try to save some for someone else!